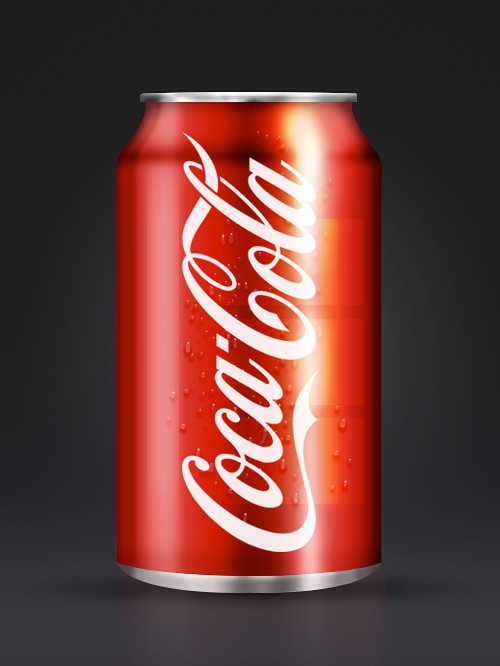
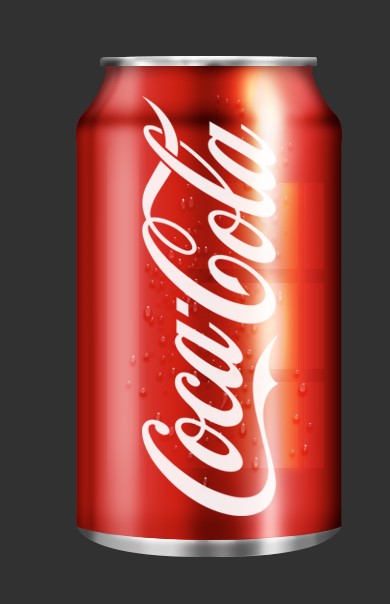
In this tutorial, I will teach you how to create a Coca-Cola can
from scratch in Photoshop using shapes, brushes and layer styles. You
are going to learn different techniques which you can apply to solve
different problems in iconography, UI or web layouts. Photoshop is one
of the most powerful programs out there and once you start learning your
way around it, you’ll realize that what you can do with it is only
limited by your imagination.
The best way to improve your skills is through discovery and
experimentation. Don’t wait for a tutorial or article, grab an image and
start trying to mimic its shapes, weight, light and shadows.
If you have any questions, use the comment section and I’ll get back to you. Let’s get started!Final Result
Step 1
Open Photoshop and set up a new document with size of at least 800px by 800px.Step 2
Create one vertical guide and one horizontal guide and align them to the middle of your document. To do this, go to View > New Guide , choose horizontal and apply a position of 50%. Do the same for the vertical guide.Step 3
The first thing is to make the shape of our can. You can use your own imagination here, however, in this case, I’ve used an image for reference (although I didn’t follow the real form completely).Step 4
In order to keep the shape of the can equal in both sides, we will draw half of the can and duplicate it. Activate the Pen tool (P), and start drawing just half of the red shape.Step 5
With the red shape layer selected, press alt+shift on your shape and drag it to the side. Then, press ctrl+T, right click on the shape, select Fip Horizontal and press enter. You can also do this by going to Edit > Transform Path and select Flip Horizontal.Step 6
Place your second half right next to the first half, select both shape layers and, with the Pen tool activated, right click on one of the shapes and select Unite Shapes. You now have one single shape.Step 7
Choose a different color and repeat the steps for the top and bottom sections of the can. Make sure the Top and Bottom shape layers are on top of the red shape layer.Step 8
Duplicate the red shape layer, position your cursor between the two red shape layers, hold down the Alt / Option key and click to create a clipping mask. Name the layers according to the image below.Step 9
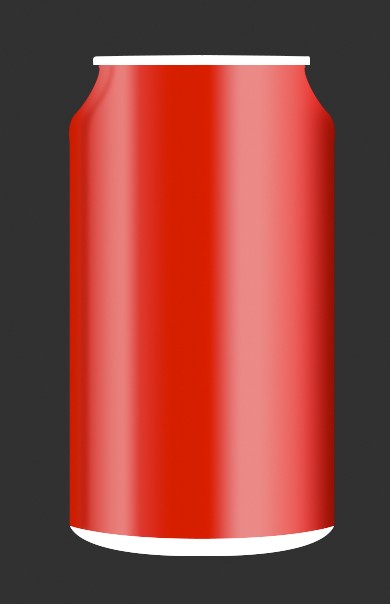
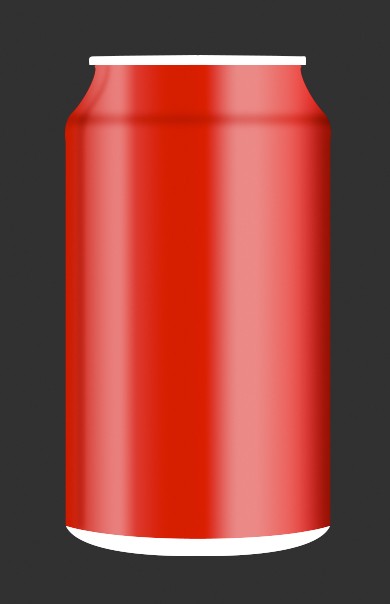
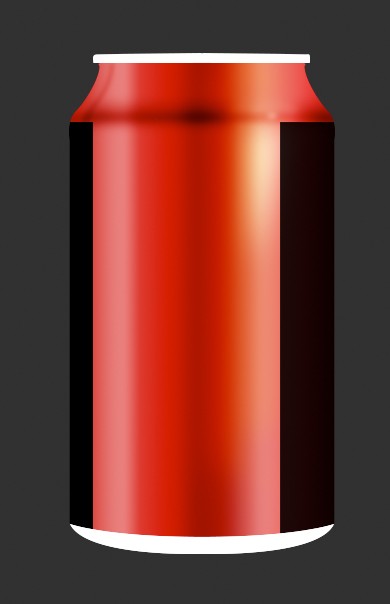
Welcome to the fun part! We now have a shape for our can so we are going to start giving it a realistic look. Select the Main Shape layer, open the Blending options panel (right click on the Layer > Blending options) and apply a Gradient Overlay with the following settings:Step 10
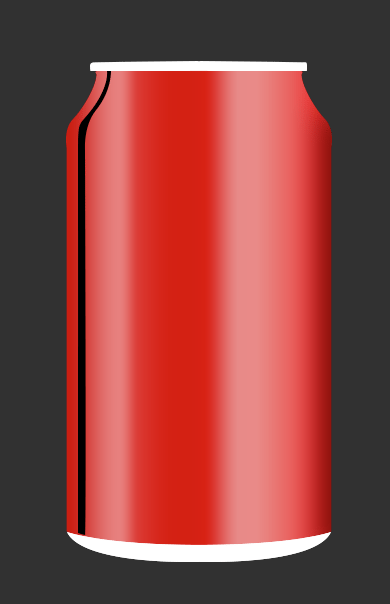
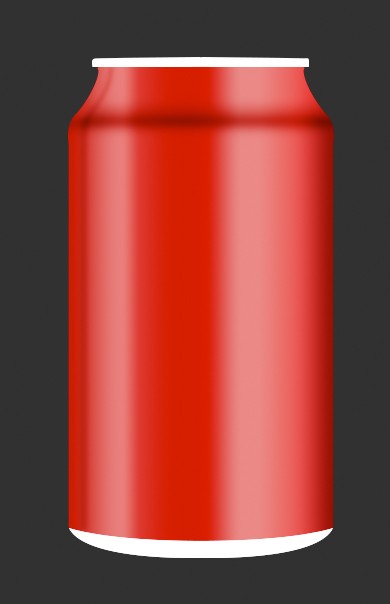
With the Pen tool (P), create a new black shape and place it like in the image below.Step 11
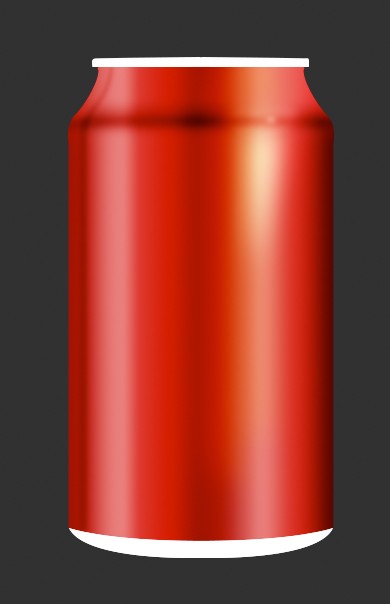
Right click on the new shape layer, convert it to smart object and then go to Filter > Blur > Gaussian Blur and enter a value of 14. Finally, make the new shape layer a Clipping Mask like you did in step 8 and change Fill of the new black shape to 70%.Step 12
Using the Pen tool, create a new shape like in the image below.Step 13
Convert it to Smart Object, give it a Gaussian Blur of 2 and change Fill to 40%. Set it as Clipping Mask like in previous steps and set the blending mode to Overlay.Step 14
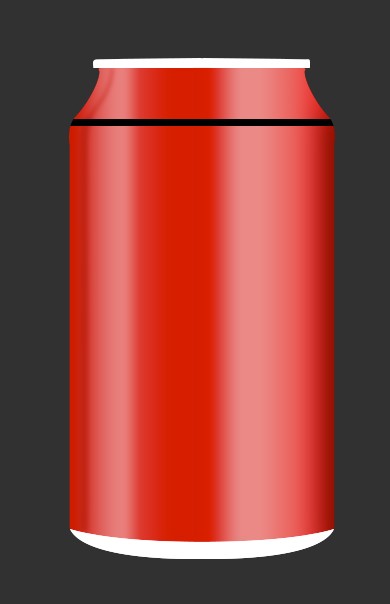
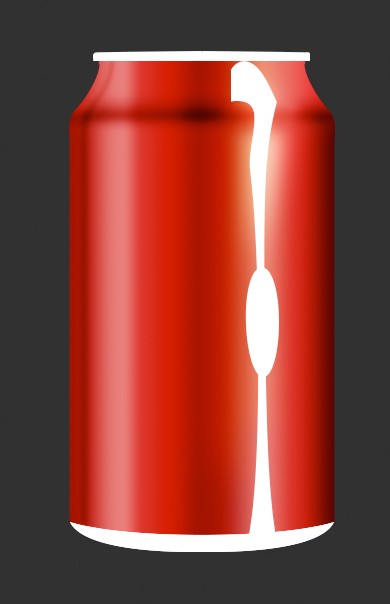
Create a new shape and place it like in the image below. Name this layer ‘Horizontal div1‘.Step 15
Convert it to Smart Object and set it as clipping mask like in previous steps. Set the blending mode to Soft Light and apply a Gaussian Blur with a value of 4.Step 16
Cmd/Ctrl + click on the Main Shape layer to select its form, then create a new layer and with a soft edge brush with size of 24px draw a straight line in the same area.Step 17
Set the layer you have just created to Soft Light and add a layer mask to it. Select black as your foreground color and a brush size of 60px. With the layer mask selected, paint gently on the top and bottom of the black area leaving just the middle section intact. Name this layer ‘Horizontal div2′.Step 18
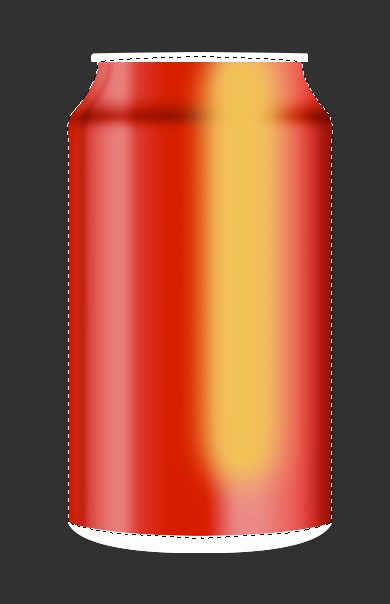
Cmd/Ctrl click on the red shape to make it selected, create a new layer, select #eeb946 as your foreground color, select a soft edge brush with a size of 100px and draw a straight line from the top to almost the bottom of the can.Step 19
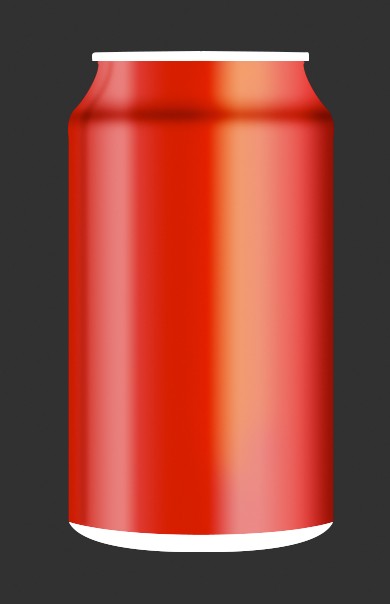
With the newly created layer selected, set blending mode to Soft Light and Opacity to 70%. Then add a layer mask, select black as your foreground color, change brush size to 65px and flow to 30%. Start painting the right side a light yellow in order to make it slightly less visible than the left side, without removing it completely.Step 20
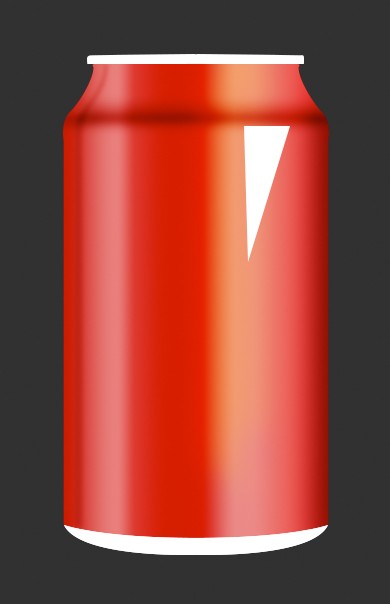
With the Pen tool activated, make a new shape similar to the one below.Step 21
Convert it to Smart Object and apply a Gaussian Blur with a value of 15. Set blending mode to Overlay.Step 22
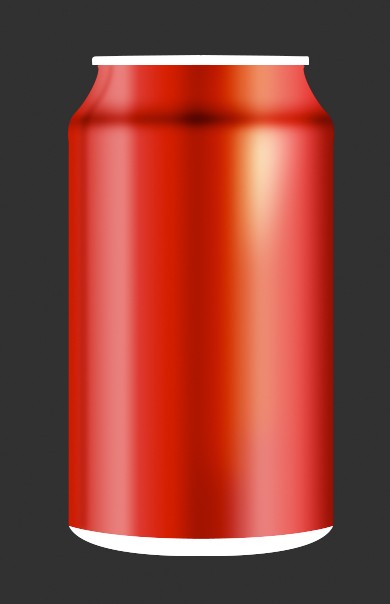
Create a new shape layer and place it in a position similar to the one below. Name this layer “Middle dark”.Step 23
As usual, let’s convert our latest shape layer to a Smart Object, set the blending mode to Soft light and apply a Gaussian Blur with a value of 10. Press Ctrl/Cmd+J to duplicate the layer and set the Opacity of the new layer to 40%.Step 24
Create two new shape layers and place them like in the image below.Step 25
Convert each shape to Smart Object, set blending mode to Soft light and apply a Gaussian Blur with a value of 10. Do this for both shape layers.Step 26
Create a new shape like the one below.Step 27
Convert the shape to Smart Object, set blending mode to Overlay and apply a Gaussian Blur with a value of 7.Step 28
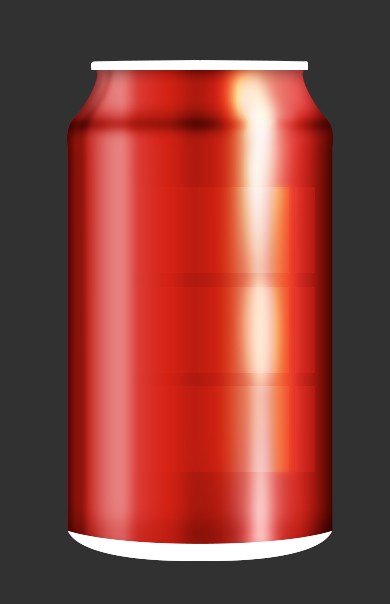
Now let’s focus on the top section of the red shape. Locate the two layers responsible for the horizontal dark line at the top (we named them ‘Horizontal div1′ and ‘Horizontal div2′). With black as your foreground color, select the layer mask and using a soft round edge brush with size of 45px and flow at 30%, delete the area where the light goes through. Do this for each of the two layers.Step 29
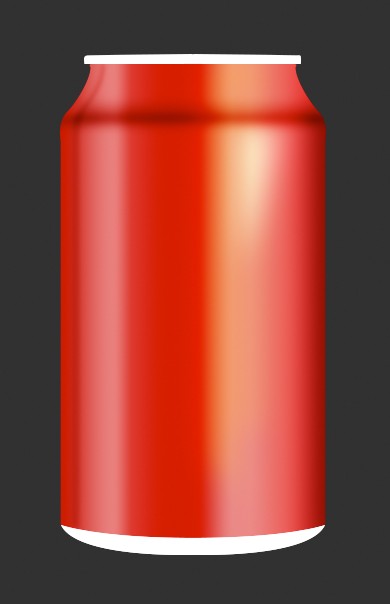
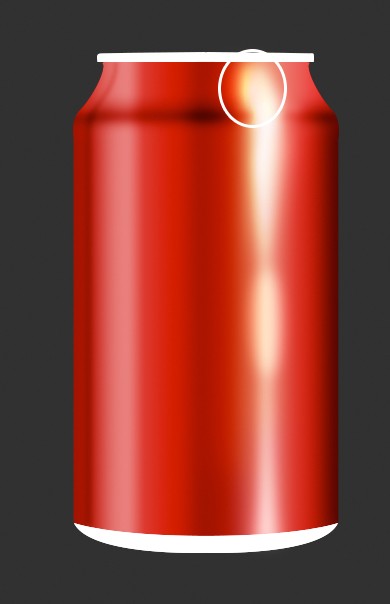
Create a new layer and select a soft edge round brush with a size of 48px and flow 100%. Click once to make a circle at the top (slightly above the line). Set blending mode to Overlay and duplicate the layer.Step 30
Edges are still a little bright so let’s take care of that. Locate the Main Shape layer and apply an Inner Shadow with the following settings:Step 31
Let’s darken the bottom section of our red shape a little bit as well. This time, Cmd/Ctrl + click on the Main Shape to make its form selected and create a new layer. Select a soft round edge brush with size of 48px and flow at 30%. Make a straight line at the bottom and set the blending mode to Soft light.Step 32
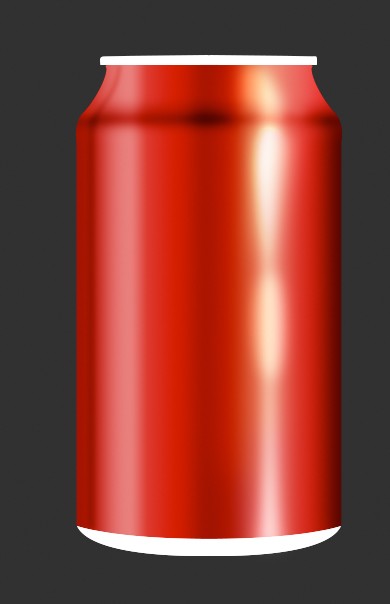
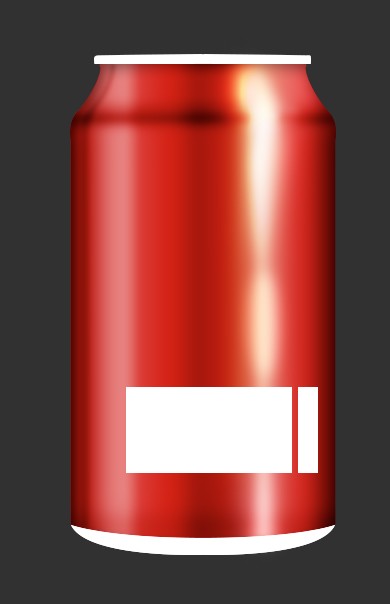
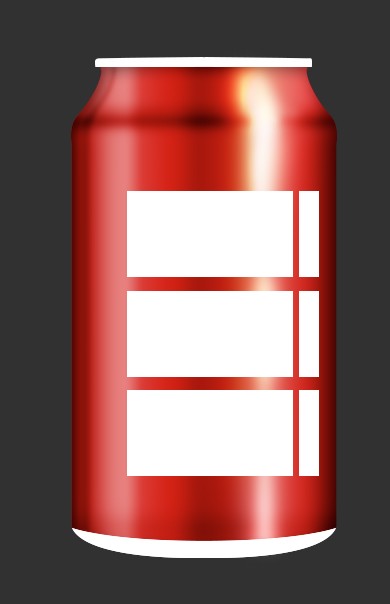
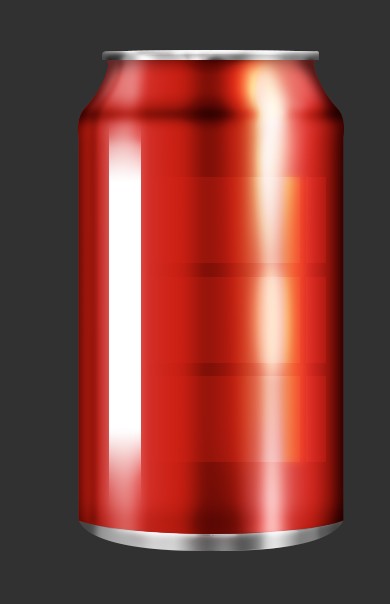
In order to increase the realism of the can, we are going to add a window reflection to the can itself. Using the Rectangle Tool (U), create two shapes like in the image below. Then, using the Pen tool (P), unite both shapes like we did in Step 6.Step 33
We now have both shapes in one unique layer. Duplicate this layer twice and position the shapes like in the image below.Step 34
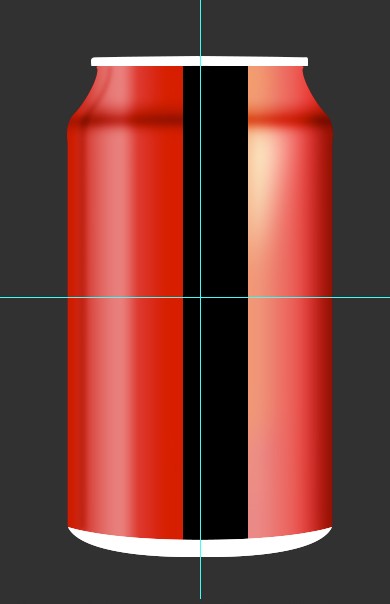
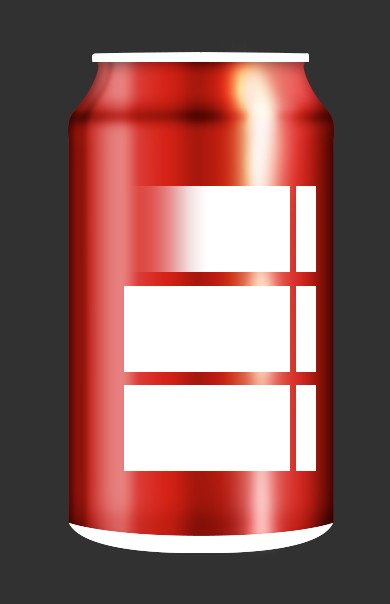
Add a Layer Mask to one of the three layers, set black your foreground color, select the Gradient Tool (G) and choose the black to transparent gradient by either selecting directly at the top (1st image) or clicking inside the gradient bar and selecting the second gradient (2nd image).Step 35
With the layer mask selected, hold shift and drag the mouse from the left side of the shape until you reach the middle of it making the left side transparent.Step 36
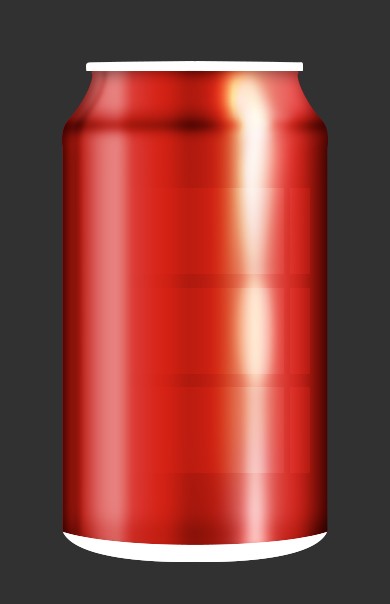
Hold the Alt/Option key and drag the layer mask to the other shape layers in order to copy and apply the same layer mask. Then set the blending mode of all three layers to Overlay and Opacity to 18%.Step 37
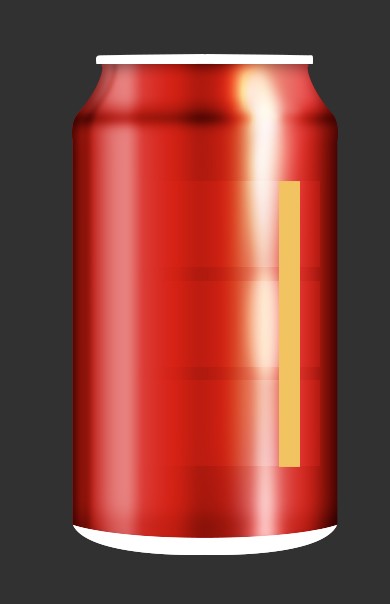
Select #eeb946 as your foreground color, make a new shape layer and place it like in the image below.Step 38
Convert the shape layer to Smart Object, set blending mode to Overlay, apply a Gaussian Blur with a value of 4 and set Opacity to 70%.Step 39
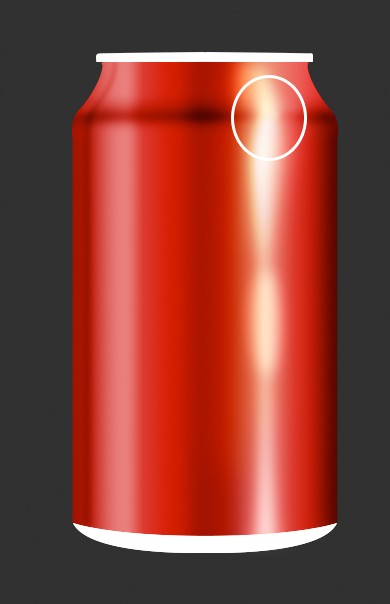
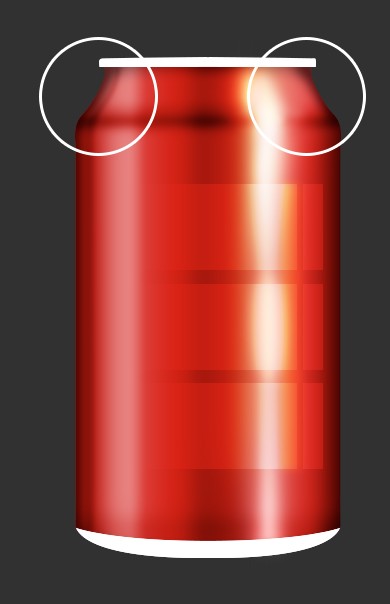
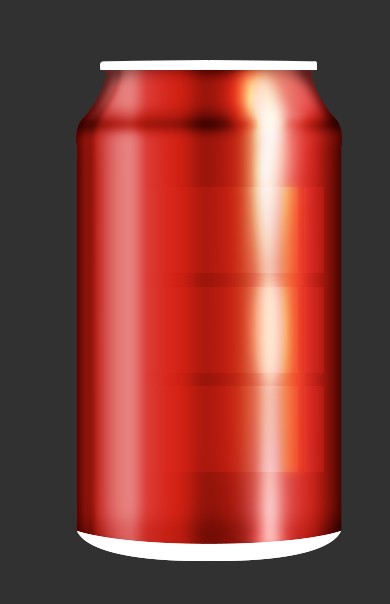
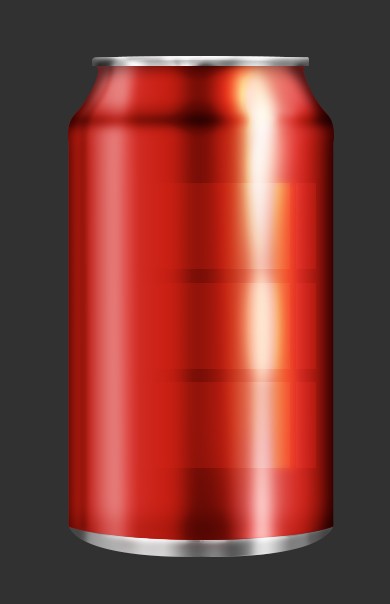
Let’s fix the light in the top section of the red shape. Ctrl/Cmd + Click the Main Shape and, with the Brush tool using a soft round edge with size 30px and flow at 30%, darken the top right and left areas a little bit more, similar to the image below.Step 40
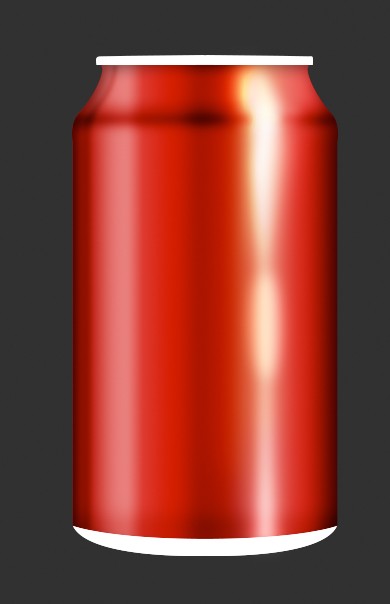
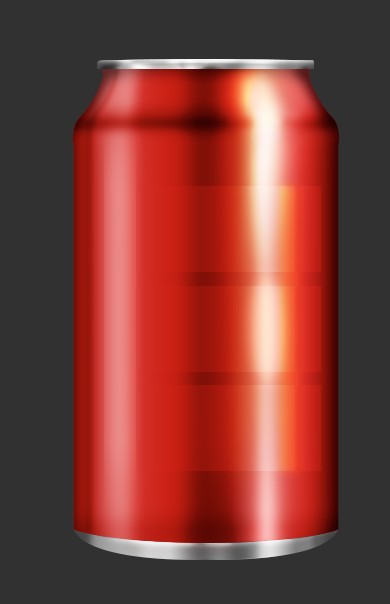
Lets intensify the dark areas in the middle of the can. Locate the shape you have created in step 22 (named ‘Middle dark‘) and duplicate it. Set Opacity of the new layer to 25%.Step 41
Let’s proceed to the top of the can. Select the layer with the top shape and apply the following settings in the Blending Options panel:Step 42
Make white your foreground color and select a soft round brush with 100% Flow and size 30px. Cmd/Ctrl + Click the top shape layer to make its form selected, create a new layer, start drawing very gently 3 straight lines with a gap between them and place horizontally centered. Set blending mode to Overlay. Try to mimic the image below.Step 43
Do the same thing as in the previous step, however, this time make a line with no gaps and covering the top portion of the shape.Step 44
Time for shadows. Use the same technique but make small spots along the top shape. Intensify the darkness in the right and left edges.Step 45
Finally, make a thin line to give our top shape a 3D look and feel. Place it vertically and horizontally centered.Step 46
Let’s now take care of the bottom part of the can. Apply the following settings in the Blending Options panel:Step 47
The technique will be the same we used on the top part of the can. Cmd/Ctrl + click on the bottom shape layer and create a new layer. With a soft round edge brush with size 21px and flow at 100%, highlight the top part of the shape. Set blending mode to Overlay. Then, create another layer and do the same thing but this time make a vertical line covering the entire height of the shape, following the light of the red shape. Change the blending mode of the latest layer to Soft Light.Step 48
Apply the same method to darken the left and right edges of the bottom shape. Set blending mode to Overlay and Opacity to 70%.Step 49
Let’s darken the middle a little bit more. Do the same thing as in previous steps and make something like the image below. Set blending mode to Soft Light and Opacity to 60%.Step 50
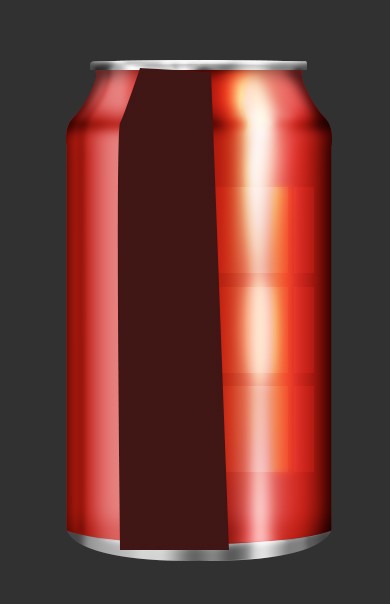
Create a new layer and draw a shape similar to the one in the image below. Give it a color of #311010.Step 51
Convert the shape to Smart Object, apply a Gaussian Blur with a value of 5. Set the layer’s blending mode to Overlay and set Opacity to 20%.Step 52
Create a new shape to act like the image below. Add a layer mask and, using the Gradient Tool (G), remove the top and bottom areas of that shape exactly like we did in Steps 34 and 35.Step 53
Set Opacity to 20% and blending mode to Overlay.Step 54
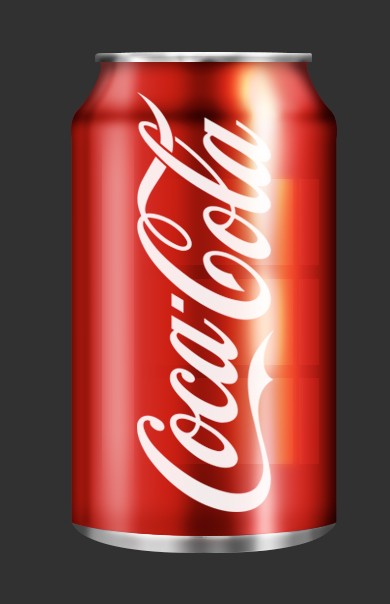
Looking good. Grab the Coca-Cola logo that’s below this sentence, press Cmd/Ctrl + T to open the Transform panel and rotate in order to adjust it to the correct position.Step 55
Let’s add some water drops. Using the Elipse Tool (U), create a circle shape and apply the following settings:Step 56
Copy the previous layer style, then create several shapes using the Pen tool and Elipse tool and past the same layer style to each shape. Organize the layers into a folder and duplicate your drops across the can.Hope you have found this tutorial useful for your future projects. Any questions you may have, please use the comment section below.









0 Response to "Create a Coca-Cola Can Using Adobe Photoshop"
Post a Comment